Note: For longer storage - if you add fresh garlic plan on freezing the oil in small batches!
I put chili crisp on just about everything. It's one of those condiments that can completely change a dish with a single spoonful, adding heat, texture, and a wonderful savory flavor. I particularly love it in ramen, rice bowls, and over fried eggs, but it's equally good with roasted vegetables or stirred into a simple noodle dish.
I've been making my own chili crisp for a while now, and once you realize how easy it is, there's very little reason to buy the expensive little jars at the supermarket.
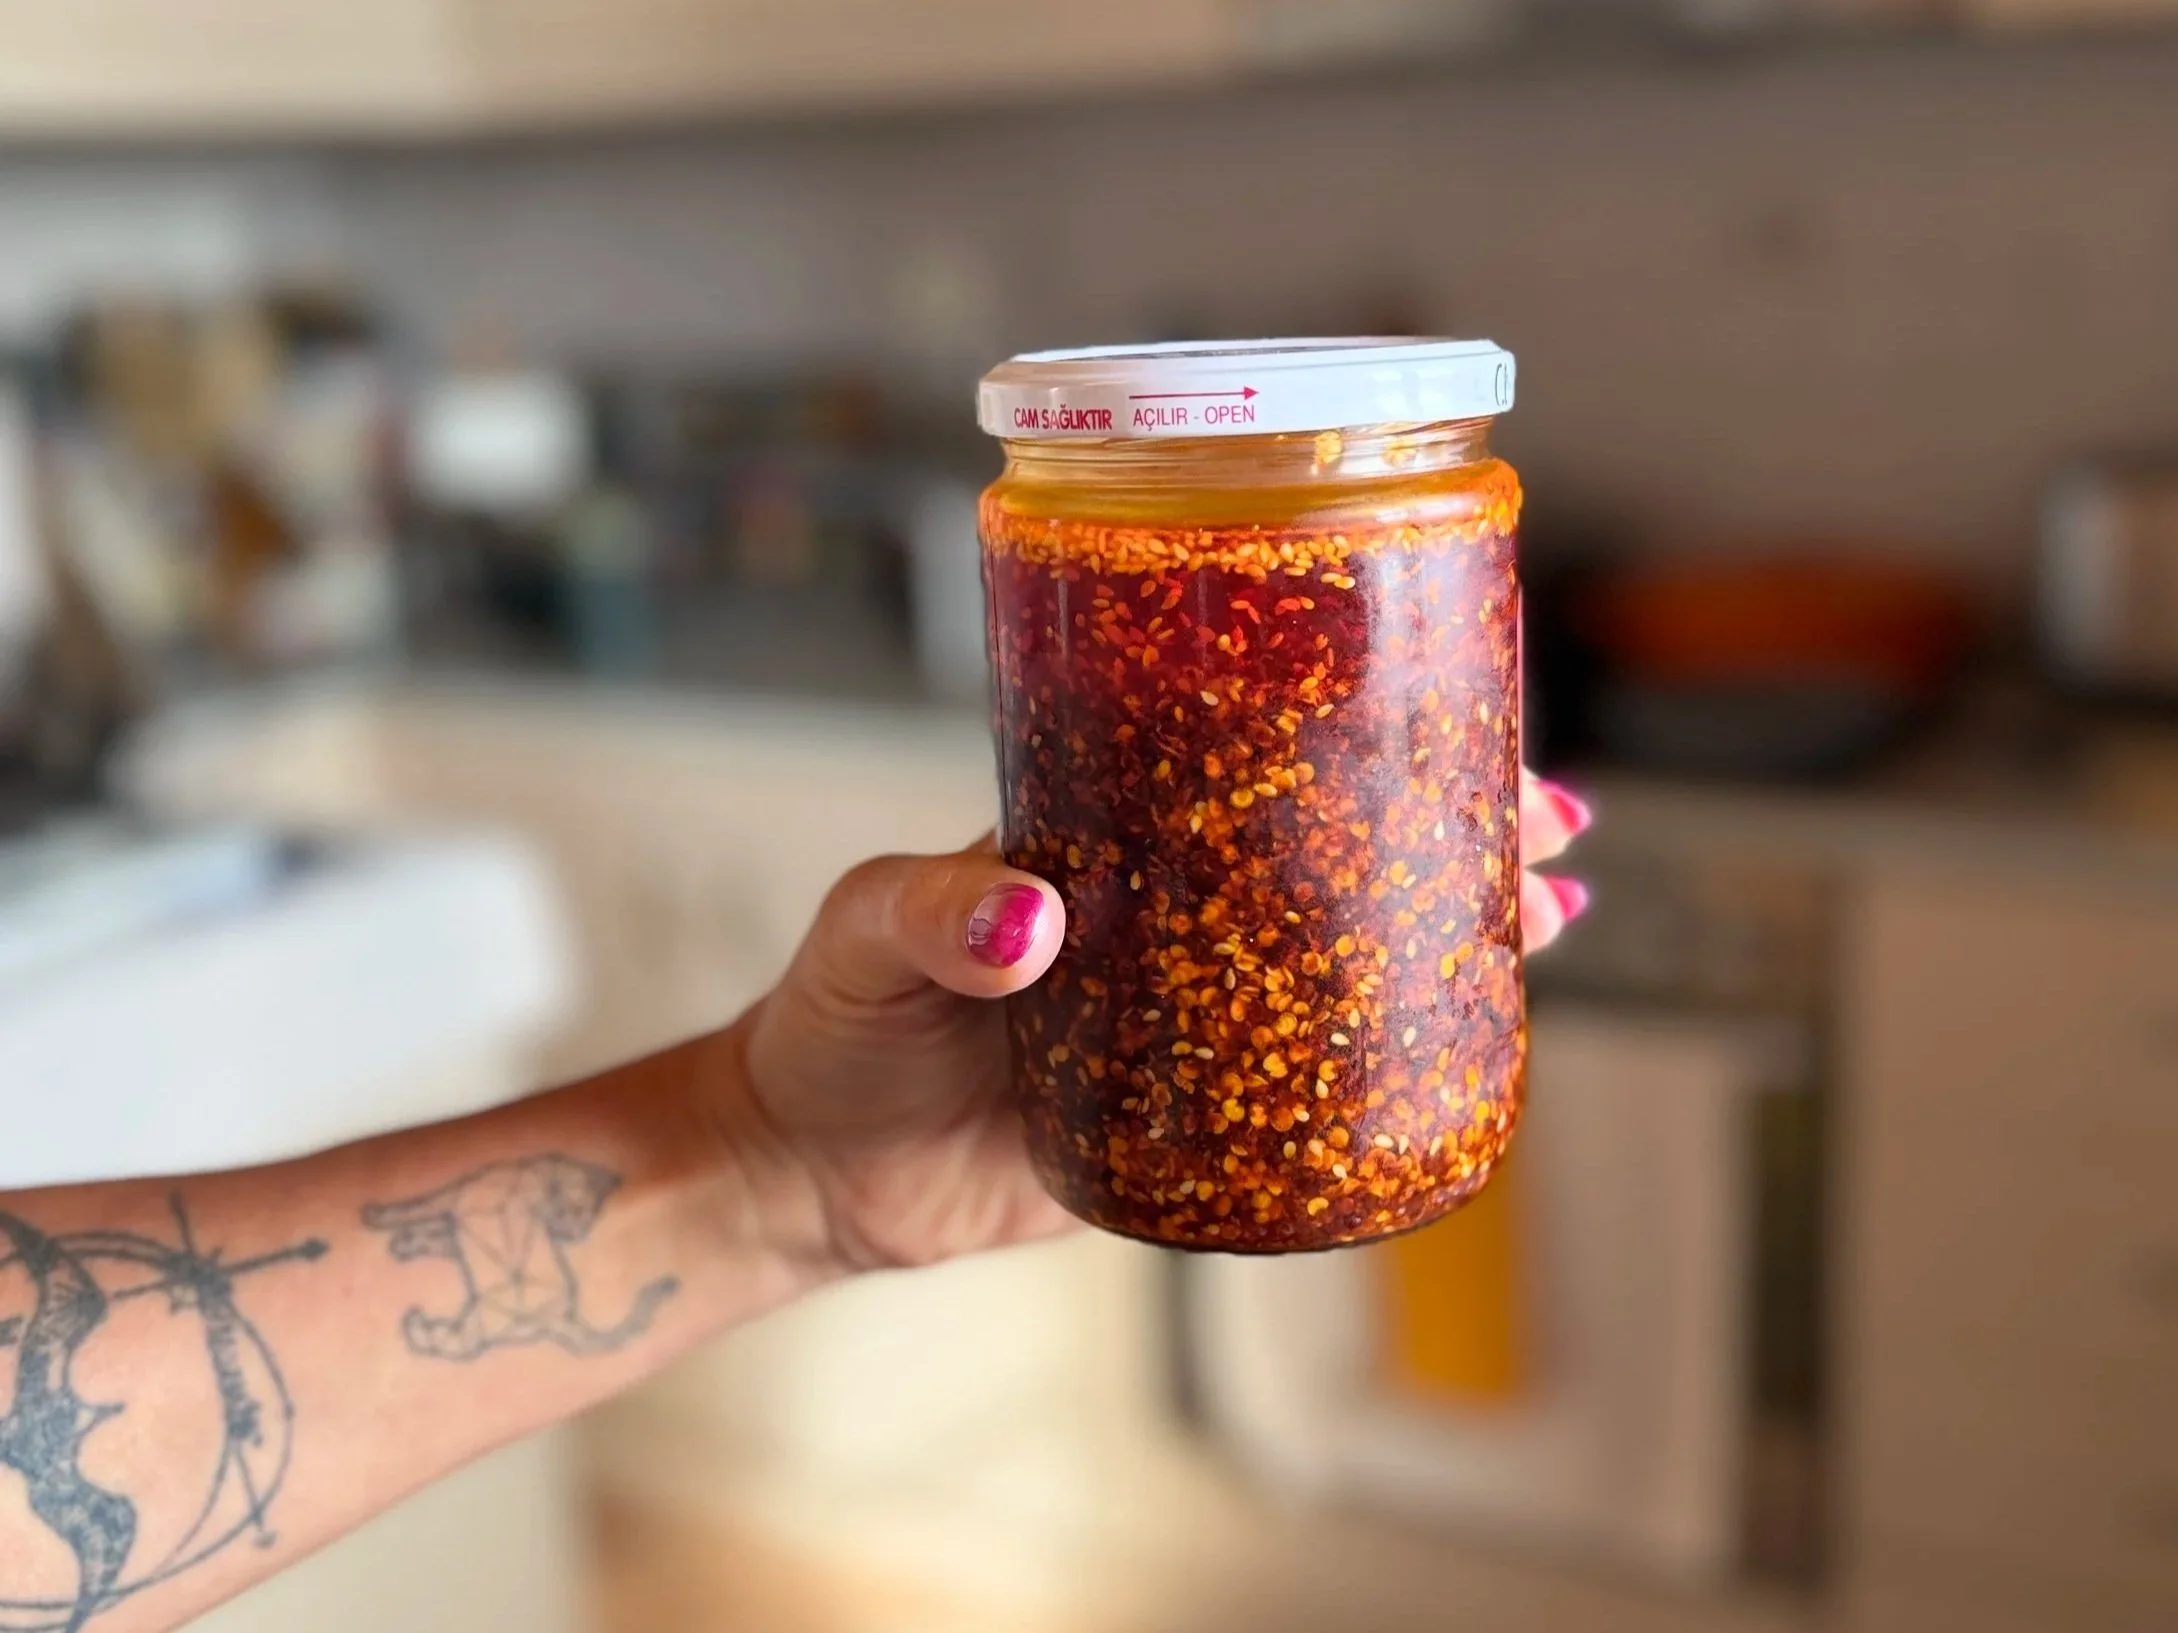
The process is straightforward. Thinly sliced garlic is slowly cooked in oil until golden and crisp, leaving behind a beautifully flavored oil. That hot oil is then poured over the chili flakes, releasing their flavor and aroma. Once everything has cooled, the crispy garlic goes back in or you can reserve it for another garnish or use! The result is a thick chili crisp with plenty of crunchy bits rather than a jar of mostly chili oil. You can adjust the amount of oil depending on your preference, and the heat will vary depending on the type of chili flakes you use.
I also like adding a little sugar and salt to round out the flavors. Sesame seeds and Sichuan peppercorns are optional, but both make excellent additions. The Sichuan peppercorns bring a subtle citrusy flavor and that characteristic tingling sensation, which works particularly well with the heat of the chilies.
I made this batch to go with my creamy miso-tahini chicken ramen, but I've already got plenty of other uses in mind. It's one of those things I love having on hand, especially when I'm cooking meals from ingredients I already have in the kitchen.
Because this is made with fresh garlic in oil, I keep it refrigerated and make sure to use or freeze it promptly rather than treating it like a commercially preserved condiment. If you omit adding the fresh garlic back in, you’re good to go for an extended time!
Ingredients
100 g dried chili flakes
500 ml (approximately 2 cups plus 2 tablespoons) neutral cooking oil or light olive oil
12–15 garlic cloves, thinly sliced
2 tablespoons sesame seeds, optional
1 tablespoon sugar
2 teaspoons fine salt, to start
1 teaspoon ground Sichuan peppercorns, optional
1 tablespoon toasted sesame oil, optional
1 tablespoon soy sauce, optional
Instructions
1. Prepare the Chili Mixture
Place the dried chili flakes in a large, completely dry, heatproof bowl. Add the sesame seeds, sugar, salt, and ground Sichuan peppercorns, if using. Stir to combine and set aside.
Choose a bowl with plenty of extra space because the chili mixture will bubble vigorously when the hot oil is added.
2. Slice the Garlic
Peel the garlic cloves and slice them as thinly and evenly as possible. Try to keep the slices a consistent thickness so they cook at approximately the same rate. Avoid mincing the garlic for this recipe. Very small pieces tend to burn before they become properly crisp.
3. Slowly Fry the Garlic
Add the sliced garlic and oil to a heavy-bottomed saucepan while the oil is still cold. Place over medium-low heat and allow the oil to warm gradually.
As the temperature rises, the garlic will begin to release moisture and bubble gently. Cook for approximately 10–15 minutes, stirring frequently and watching closely as the garlic begins to change color.
The goal is light golden garlic, not dark brown. Garlic continues cooking briefly after being removed from the oil, so take it out just before it reaches your desired color.
4. Remove and Crisp the Garlic
Use a slotted spoon or fine-mesh strainer to remove the garlic from the hot oil. Spread the slices in a single layer over a paper towel-lined plate. As the garlic cools, it will become crispier. Leave the garlic aside while you prepare the chili oil.
5. Heat the Infused Oil
With the garlic removed, increase the heat slightly and bring the infused oil to approximately 165–170°C (330–340°F). A kitchen thermometer is particularly helpful here.
The oil needs to be hot enough to bloom the chili flakes and release their flavor, but not so hot that it burns them.
6. Bloom the Chili Flakes
Carefully pour approximately one-third of the hot oil over the chili mixture. The mixture should immediately bubble and sizzle.
Stir with a heatproof spoon, making sure the oil reaches all of the chili flakes. Pour in the remaining oil in two additions, stirring thoroughly between each.
7. Allow the Chili Oil to Cool
Let the mixture rest for approximately 10–15 minutes, stirring occasionally. During this time, the chili flakes will continue absorbing oil and releasing flavor.
8. Add the Crispy Garlic
Once the chili oil has cooled substantially and is no longer sizzling, add the reserved crispy garlic. Stir gently to distribute the garlic throughout the mixture. If you want to OMIT the garlic so you can keep the oil refrigerated for longer, use those yummy garlic flakes elsewhere as a garnish!
9. Store
Allow the chili crisp to cool, then transfer it to clean, dry glass jars. Refrigerate promptly. Homemade garlic in oil is not shelf-stable and can present a botulism risk if stored improperly.
Keep refrigerated at 4°C (40°F) or below and use within four days, or freeze in small portions for longer storage. Freezing is particularly useful for a batch this size. Always use a clean, dry spoon when serving.